Note: The Casamba preferred browser is Internet Explorer.
You must be logged on with local administrative rights to complete the Citrix Receiver and Screwdrivers install. In addition, it is strongly recommended to turn off UAC (referenced below) and anti-virus prior to this install.
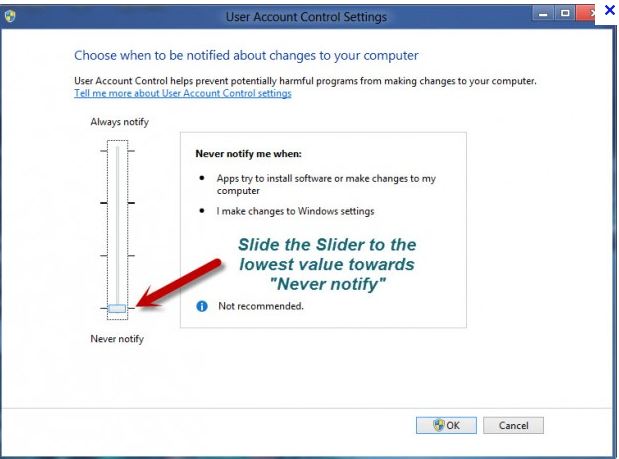
Please make sure UAC is set to "Never Notify" by opening the Control Panel. Click the User Accounts icon, and click the "Change User Account Control Settings" link and slide the bar down to "Never Notify" as shown below during the install. A reboot will be required after this change.
1. Create a new folder on your local C: drive and name it CasambaCitrix.
2. Download and save your "mycasambaclientPack.zip"
3. Unzip the contents by right-clicking the mycasambaClientPack.zip file and select "Extract All". The mycasambaclientPack.zip file will contain the following three files:
• CitrixReceiver491.exe
• 32bit ScrewDrivers Client v6.4.1.msi
• 64bit ScrewDrivers Client v6.4.1.msi
4. Once unzipped, proceed by following the instructions below.
1. Right-click the CitrixReceiver491.exe file, that was unzipped in the previous step, and select "Run as Administrator”.
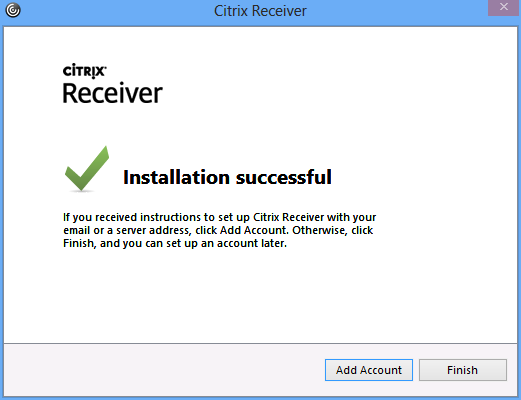
2. Acknowledge any security messages and click install on Citrix Receiver Welcome window as shown below.
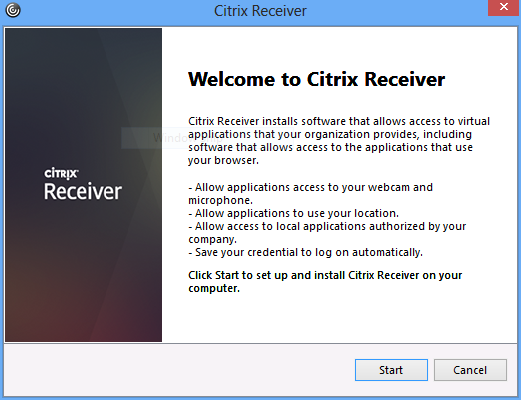
3. Click Start
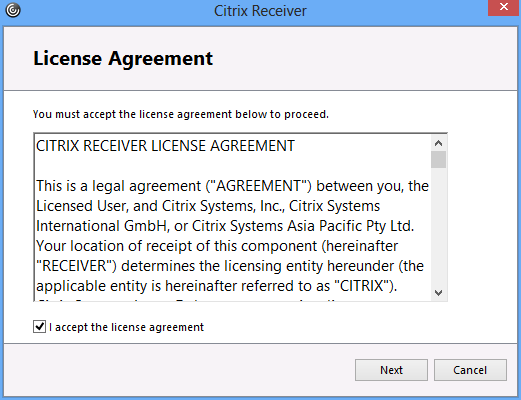
4. Check the box to accept the license agreement and select Next.
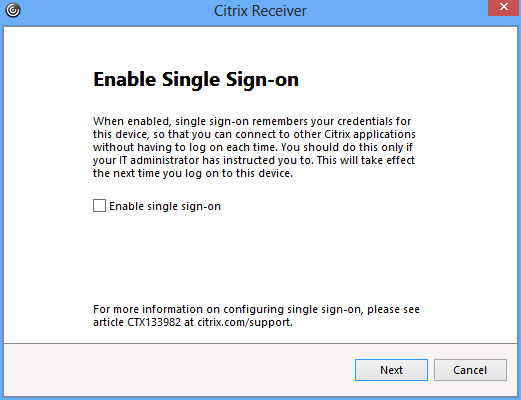
5. Select Install on the following screen. (DO NOT check to Enable single sign-on)
6. Finish on the last screen.
Note: You may notice the Citrix Receiver icon in the system tray (black circle with white curved lines) as shown in the below screenshot. You may have to click the "up arrow" to expand system tray icons.

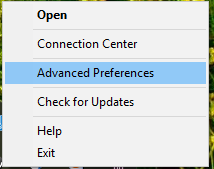
7. Right Click on the Citrix Receiver Icon and select Advanced Preferences
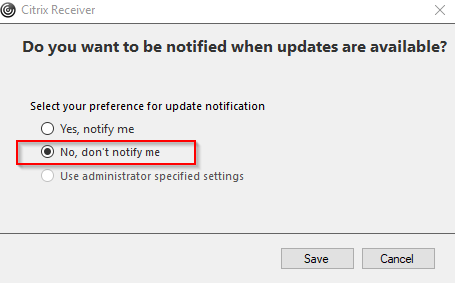
8. Select “Auto Update”, “No, don’t notify me” and “Save”.
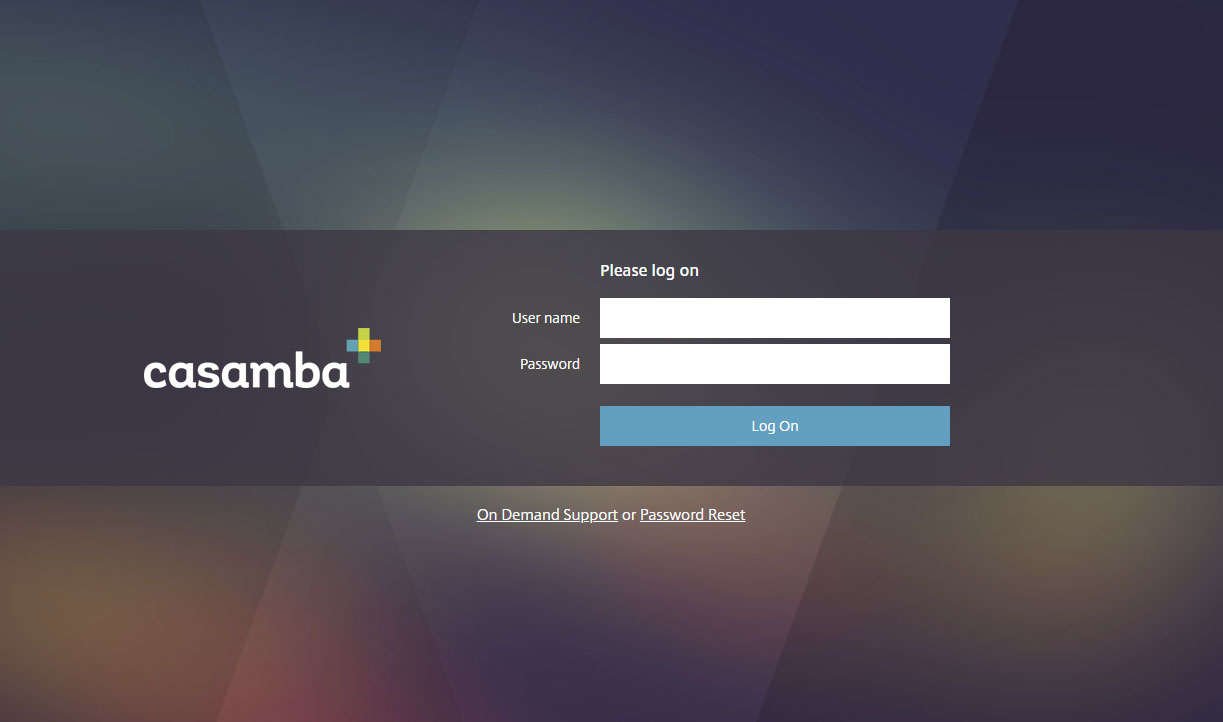
IMPORTANT - Please access your Casamba applications from Internet Explorer by browsing to my.casamba.net.
When applications are accessed from a web browser using my.casamba.net, you will be directed to the secure page as shown below.
Remember to follow the ScrewDriver installation instructions before launching your applications. This will allow printing from the applications.
1. If you previously had screwdrivers installed on this machine, you will need to start by uninstalling the previous version from Program and Features through the Control Panel
2. Double click the 32bit ScrewDrivers Client v6.4.1.msi file or 64bit ScrewDrivers Client v6.4.1.msi that was unzipped in Step 1.
3. Screwdrivers will install
4. After the installation of the Screwdrivers Client is complete, open the Control Panel and search for ScrewDrivers Client v6.4.1.
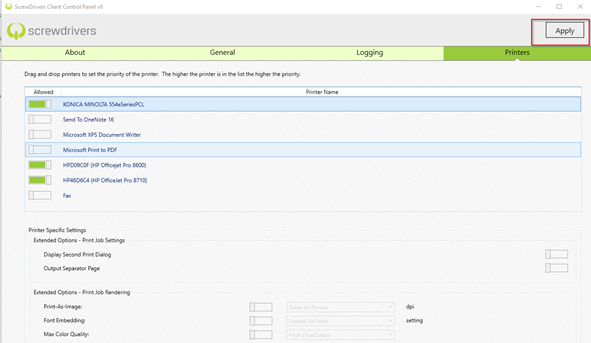
5. Open the ScrewDrivers Client v6.4.1 software and click the Printers tab.
6. For printers you will use while logged into Citrix and the Casamba applications, select the printers to “Allow” by moving the bar to green  and drag them into the order they should display (priority of using the printers).
7. For all other printers, confirm the bar next to the printer name under “Allow” is gray.

8. Select “Apply” at the top of the screen.
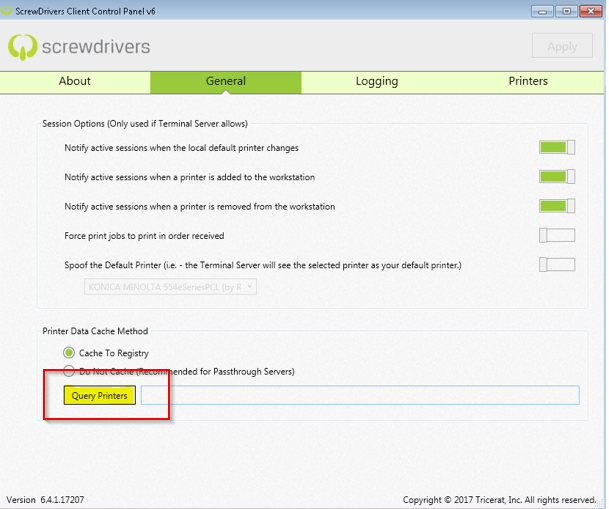
9. From the General tab, select to Query Printers. Once completed you can close out of the ScrewDrivers settings.
1. Click the following link and follow the on-screen instructions for Citrix Receiver 12.7 for MAC
2. Click the following link and follow the on-screen instructions for ScrewDriver Client 6.4.1 for MAC
1. Click the following link and follow the on-screen instructions for Citrix Receiver 12.5 for MAC
2. Click the following link and follow the on-screen instructions for ScrewDriver Client 4.5 for MAC
1. Click the following link and follow the on-screen instructions for Citrix Receiver 11.9.15 for MAC
2. Click the following link and follow the on-screen instructions for ScrewDriver Client 4.5 for MAC
1. Search for "Citrix" in your device's App Store.
2. Press the "Install" button for the Citrix Receiver App.
3. Press "Open"
4. After the installation is complete, launch the Citrix receiver app and press "Add Account".
5. Type my.casamba.net in the "Address" field and Tap next.
6. In the next fields that are presented, type your Username, Password, and Domain as "sourcemed" (without quotes) and Tap "Save".
7. Your applications are now presented and Tap them to launch.
Printing from the my.casamba.net environment is not supported from iPad and Android devices at this time.